![v3 Cube [PNG]](https://v3ritas.tech/wp-content/uploads/2018/06/v3-Cube-1.png)
A few people have been running into issues while trying to get stock Android or LineageOS on their Rabbit r1’s, so I was trying to flesh out some of the documentation: GitHub Gist: veritas06 / Rabbit_r1-Android_Guide.md. Instead of doing GitHub Gists, I’m thinking it will be a lot easier if we have a Wiki that […]
Category: Tech 🖥
RabbitOS 20240615.10/0.8.103(134D8EC)
New OS update for the Rabbit r1 yesterday, & I used mtkclient to dump the partitions. Hoping to be able to get Magisk working at some point… haven’t had much luck with it recently.

Android Authority: “Rabbit R1, a thing that should just be an app, actually is just an Android app (Updated)”
Ouch… so it looks like Rabbit isn’t have a good day. And right around when the devices are getting delivered (which probably isn’t a coincidence). See, it turns out that the Rabbit R1 seems to run Android under the hood and the entire interface users interact with is powered by a single Android app. A […]

The M1: A Compact Multitool for Technophiles & Hackers
A friend mentioned this to me & of course I had to back the device, since it looks like a Flipper alternative, but has Wi-Fi built into their board. I’ll admit, I do still need to read all of their details, but if the community here is anything like Flipper’s, & for only $119 on […]
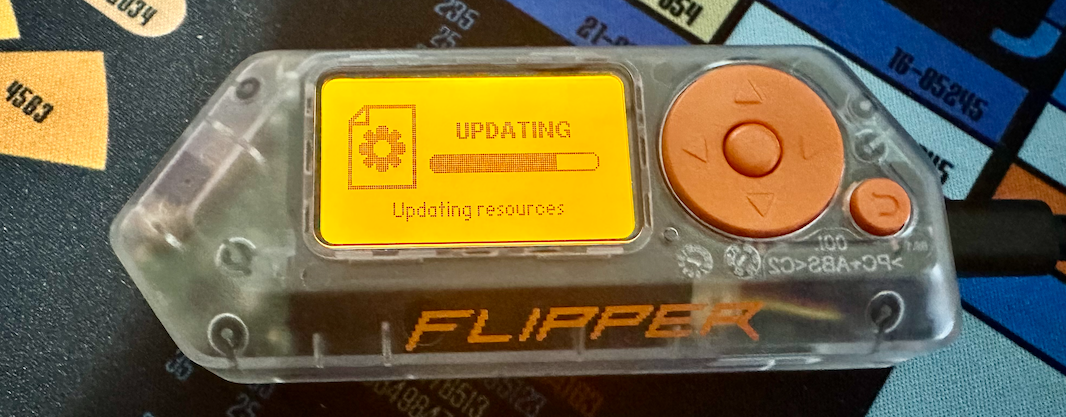
Flipper Zero Transparent
Did I really need a transparent Flipper? No… but I did end up ordering one which let me look over some other custom firmwares that are available for the Flipper. I was looking over the CFW’s listed here: GitHub: djsime1 / awesome-flipperzero / Firmwares.md I’ve typically always stuck with Unleashed or RogueMaster’s CFW, but figured […]
WordPress Issues…
Since last night I’ve been fighting with a problem on the site… Which is related to …/wp-includes/formatting.php, specifically the convert_smilies function. I ended up just having to adjust the $stop variable to “0”, at least until I can get it permanently figured out. And right now the content of posts aren’t loading, so there is […]
Dergnz: Fun things to try with your Flipper Zero (and wifi devboard)
I’ve had a tab with this site open in my browser for weeks so I don’t forget to go to it, but still haven’t had time to sit down & go through it, to see what I might want to try. So I might as well drop it here as a reminder & in case […]
Fun with Flipper Zero
I’m trying to play around more with my Flipper Zero, especially since I came across info on custom firmware to unlock some extra features with the device. The install was extremely simple, just using the qFlipper application to flash the CFW: GitHub: RogueMaster / flipperzero-firmware-wPlugins. There were a few extra steps to take after flashing, […]
Fun Projects: Ubuntu Touch & LuneOS
Two things I’m currently working on:– Ubuntu Touch on my old Nexus 6P, just to see how it’s coming along. I did need to reference this comment in order to get mine booting properly.– LuneOS on my old HP TouchPad… Which is giving me some problems. It started off rough because I was trying to […]
webOS Resources
Just making note of some webOS tools \ resources that could be useful as I start playing with my HP TouchPad (Tenderloin) again. Specifically, I want to install LuneOS on my device. org.webosinternals.tailor_0.3.1_all.ipk.zip: Needed this version because it has options included for LuneOS.Palm_webOS_SDK.3.0.5.676.dmgWebOSQuickInstall-4.6.0.jar: I didn’t actually need this, but downloaded it because I was nostalgic. […]